Google Project setup
This guide will show you how to set up a Google Project and create credentials that will work for sa-gen or similar tools.
It's assuming you're working through the steps from here and have completed the following steps:
- verified account drive permissions
This guide is assuming you are using a standard GSuite Business or GSuite Workspace account.
IF YOU HAVE DONE THIS BEFORE IN ANY OTHER CONTEXT [CLOUDBOX, PTS, ETC.], THERE IS NO REASON TO REPEAT IT. You only need one of these projects.
-
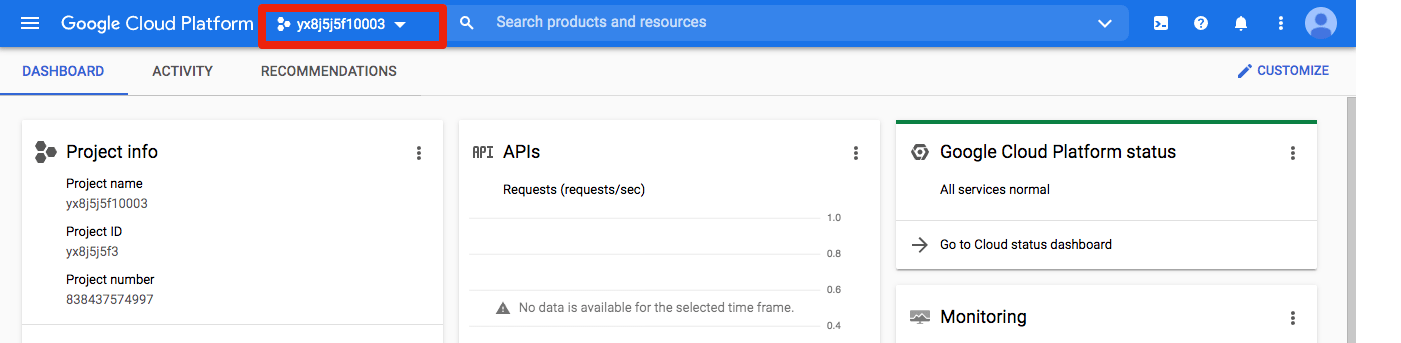
Open Google APIs Console site: https://console.developers.google.com and login with your Google account.
Click on the project or organization at the top:
-
Click "New Project":

-
Name the project. Click "Create".
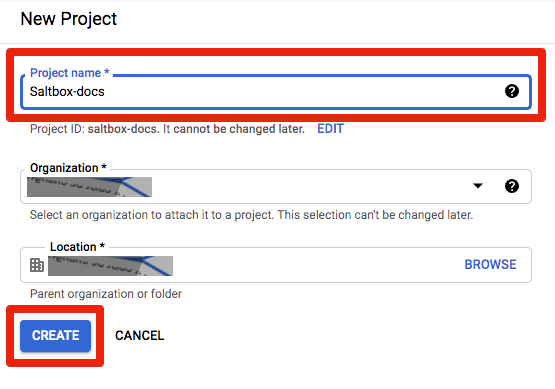
You'll see a progress dialog, when it's complete, click "Select Project"

-
Click "Go to APIs overview".

-
Click "ENABLE APIS AND SERVICES" at the top.
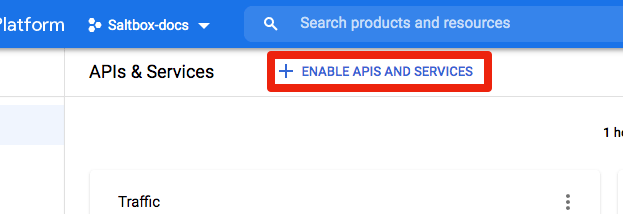
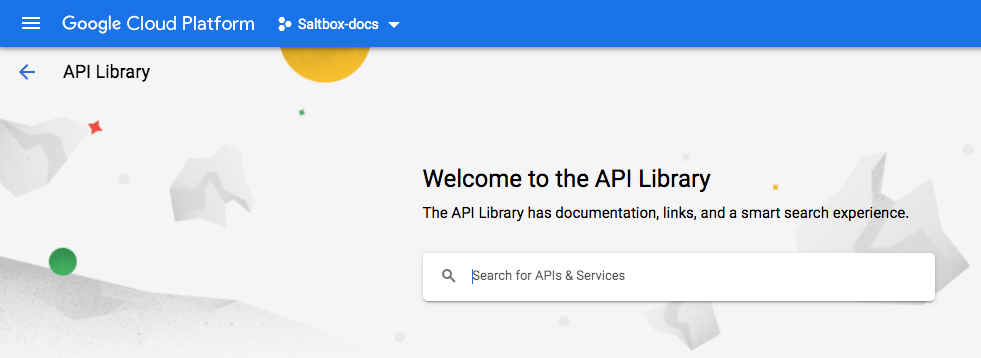
You'll be taken to the "API Library":
-
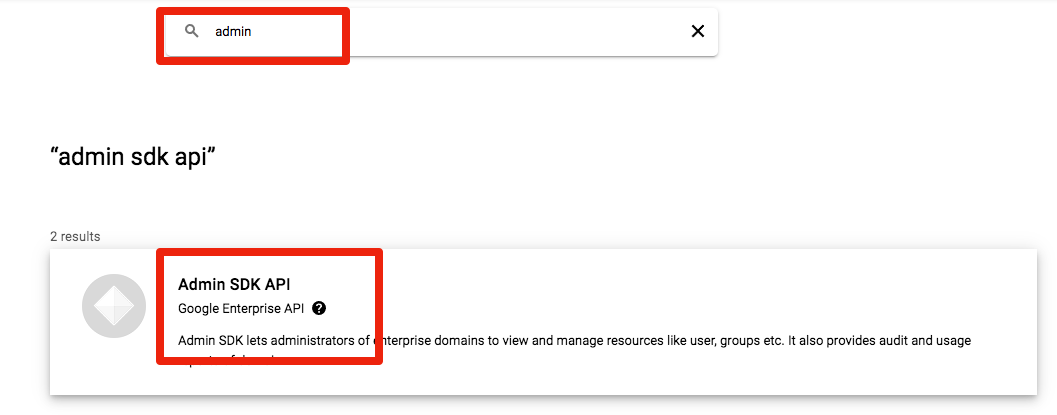
Search for "Admin". Click "Admin SDK API".
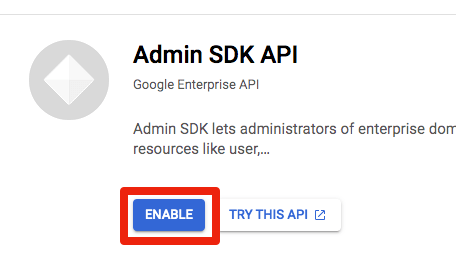
Click the button to enable the API:
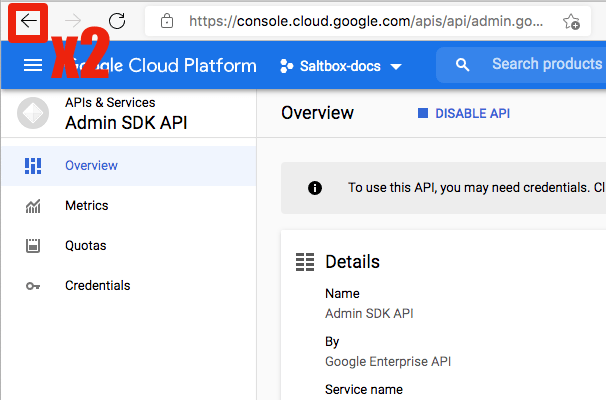
You'll go to a API Overview page. Click the browser back button twice:
Repeat this process for six more APIs:
- Google Drive API
- Identity and Access Management (IAM) API
- Cloud Resource Manager API
- Service Usage API
- Service Management API
- Google Sheets API
You may find that some of these APIs have been enabled already as dependencies of others, like Service Management here:
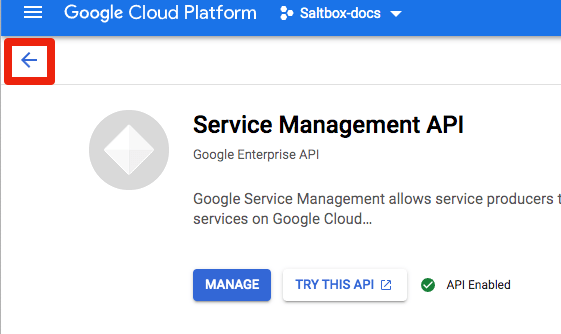
In that case, click the website back arrow once and move on to the next one.
-
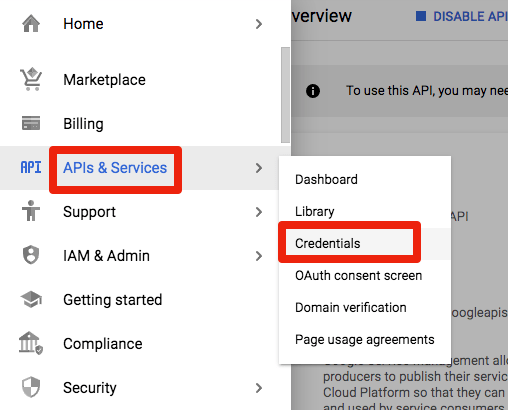
Now click "APIS and Services" then "Credentials" in the left column to go to the credentials dash:
-
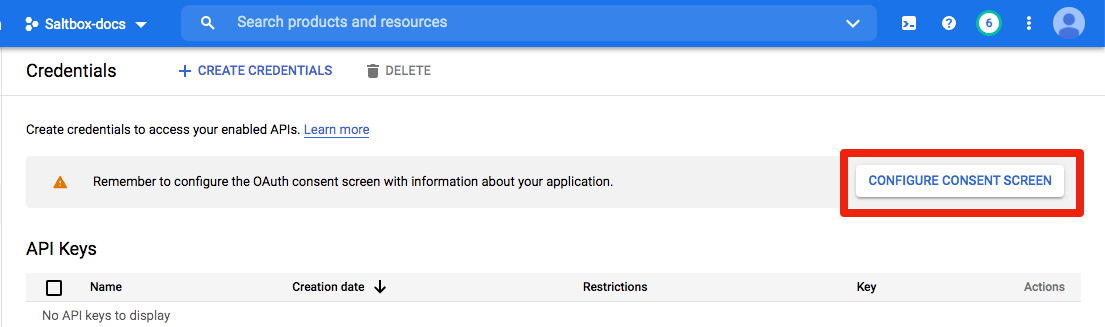
Click "Configure consent screen" over on the right:
-
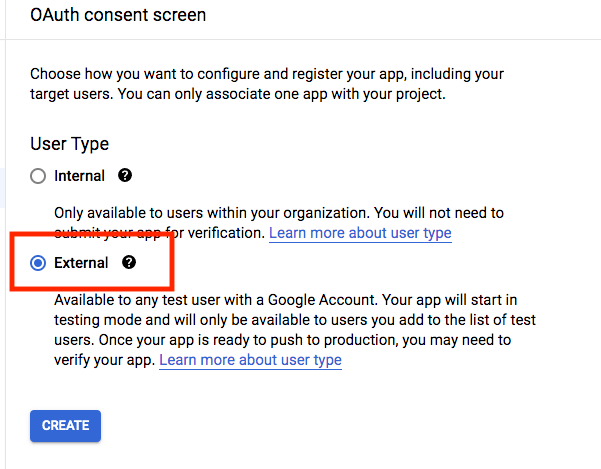
Choose "External" user type and click "Create":
-
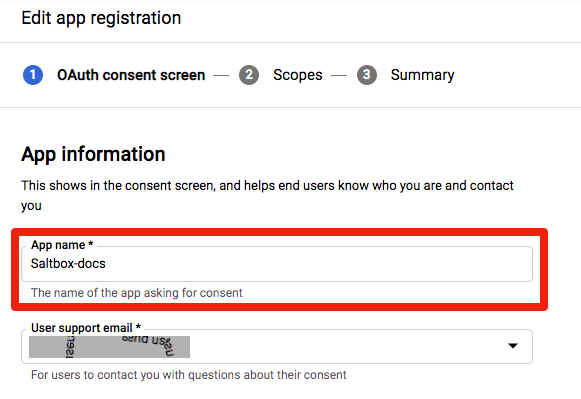
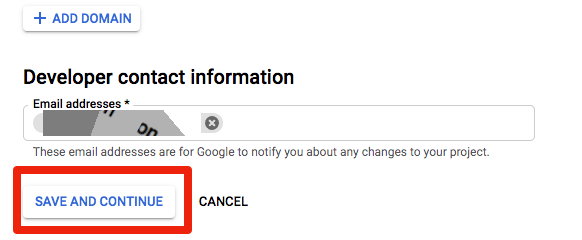
On this screen:
- type in the App Name (e.g. Rclone)
- Enter a "User support email"
- Scroll to the bottom
- Enter an email address under "Developer contact information"
- Click "SAVE AND CONTINUE".
-
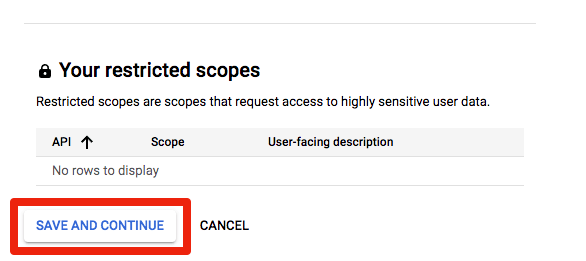
Click "SAVE AND CONTINUE" on the scopes screen:
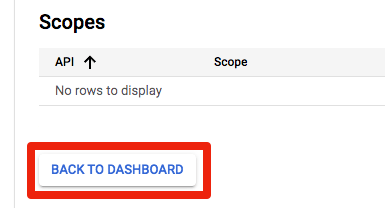
And "BACK TO DASHBOARD" on the final summary:
-
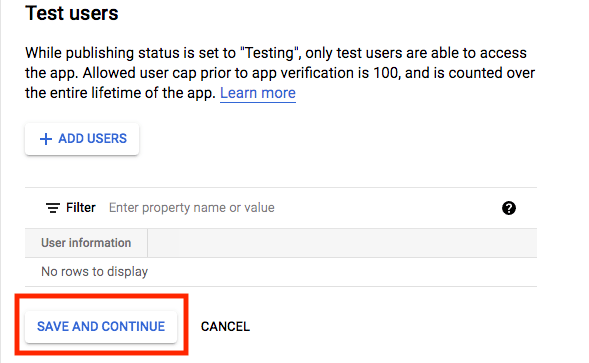
Click "SAVE AND CONTINUE" on the test users screen:
And "BACK TO DASHBOARD" on the final summary:
-
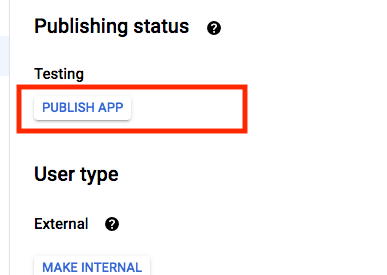
Click "PUBLISH APP" on the dashboard :
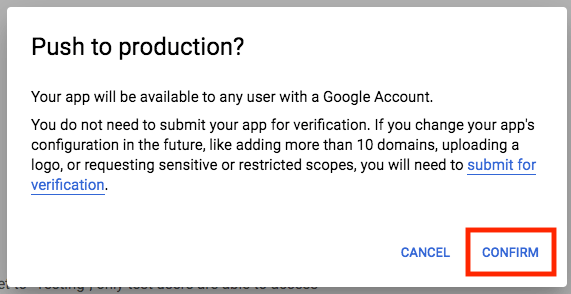
Then "CONFIRM":
-
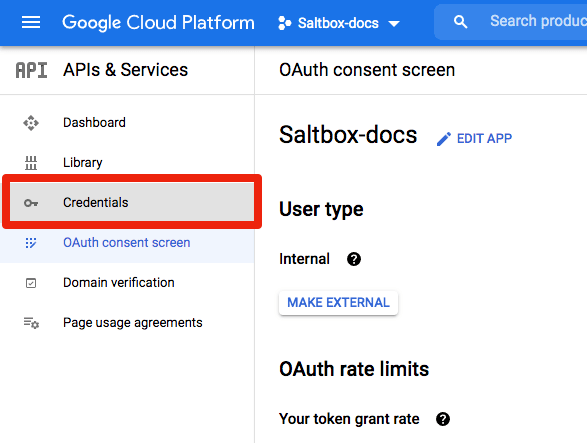
Click "Credentials" in the sidebar:
-
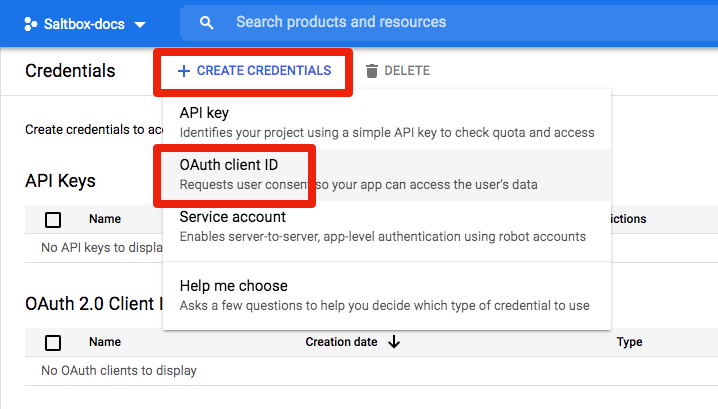
Click "Create Credentials", then "OAuth client ID":
-
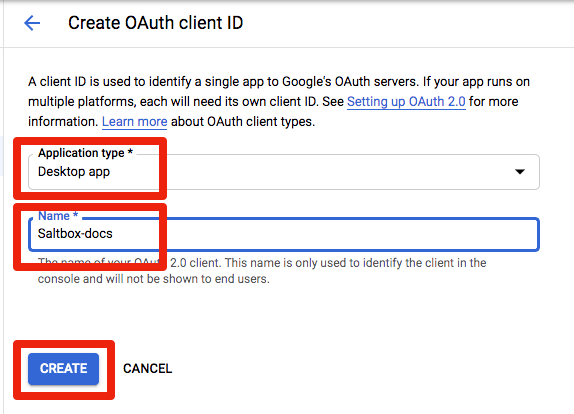
Choose "Desktop App", give the app a name, and click "CREATE":
-
You'll be presented with the Client ID and Secret. Copy and save them somewhere; you may need them to configure other tools later. Click on "DOWNLOAD JSON" to download the credential file:
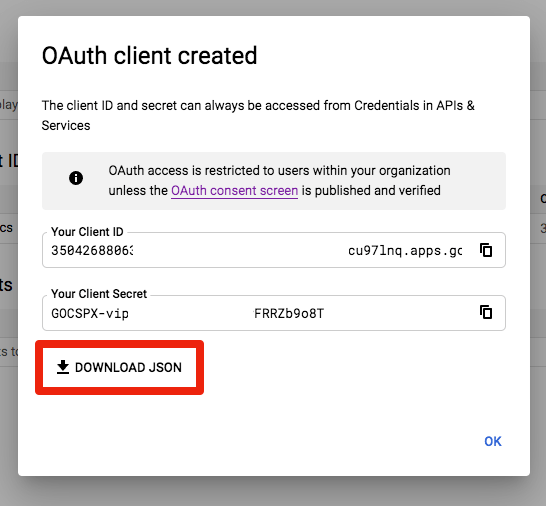
Later on, I'm going to assume you put it on the saltbox server in /opt/sa/ and named it project-creds.json.
To do that you may need to create /opt/sa and make sure it's writable by you.
How do I do that?
sudo mkdir -p /opt/sa
sudo chown -R <user>:<group> /opt/sa
If you are going through the manual rclone instructions, continue with the next step